Installing on Azure#
Goal#
By the end of this tutorial, you should have a JupyterHub with some admin users and a user environment with packages you want to be installed running on Microsoft Azure.
This tutorial leads you step-by-step for you to manually deploy your own JupyterHub on Azure cloud.
Note
✨ The Deploy to Azure button project allows you to deploy your own JupyterHub with minimal manual configuration steps. The deploy to Azure button allows you to have a vanilla configuration in just one-click and by assigning some variables.
Check it out at trallard/TLJH-azure-button.
Prerequisites#
A Microsoft Azure account.
To get started you can get a free account which includes 150 dollars worth of Azure credits (get a free account here)
These instructions cover how to set up a Virtual Machine on Microsoft Azure. For subsequent information about creating your JupyterHub and configuring it, see The Littlest JupyterHub guide.
Step 1: Installing The Littlest JupyterHub#
We start by creating the Virtual Machine in which we can run TLJH (The Littlest JupyterHub).
Go to Azure portal and login with your Azure account.
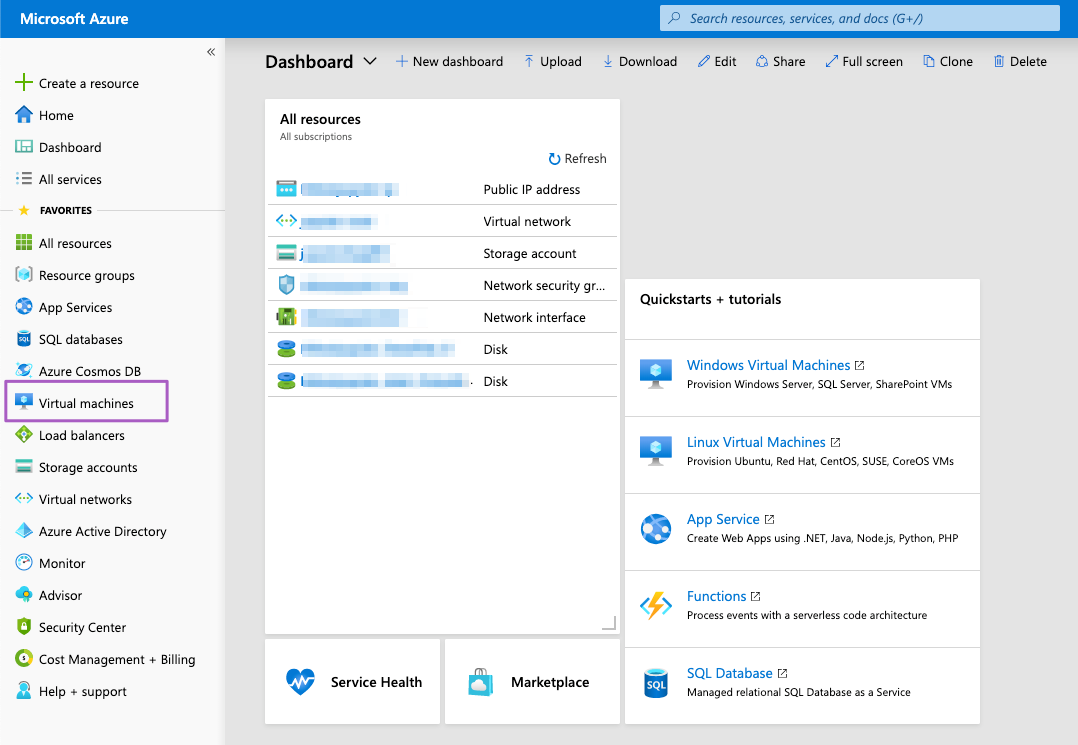
Expand the left-hand panel by clicking on the “>>” button on the top left corner of your dashboard. Find the Virtual Machines tab and click on it.
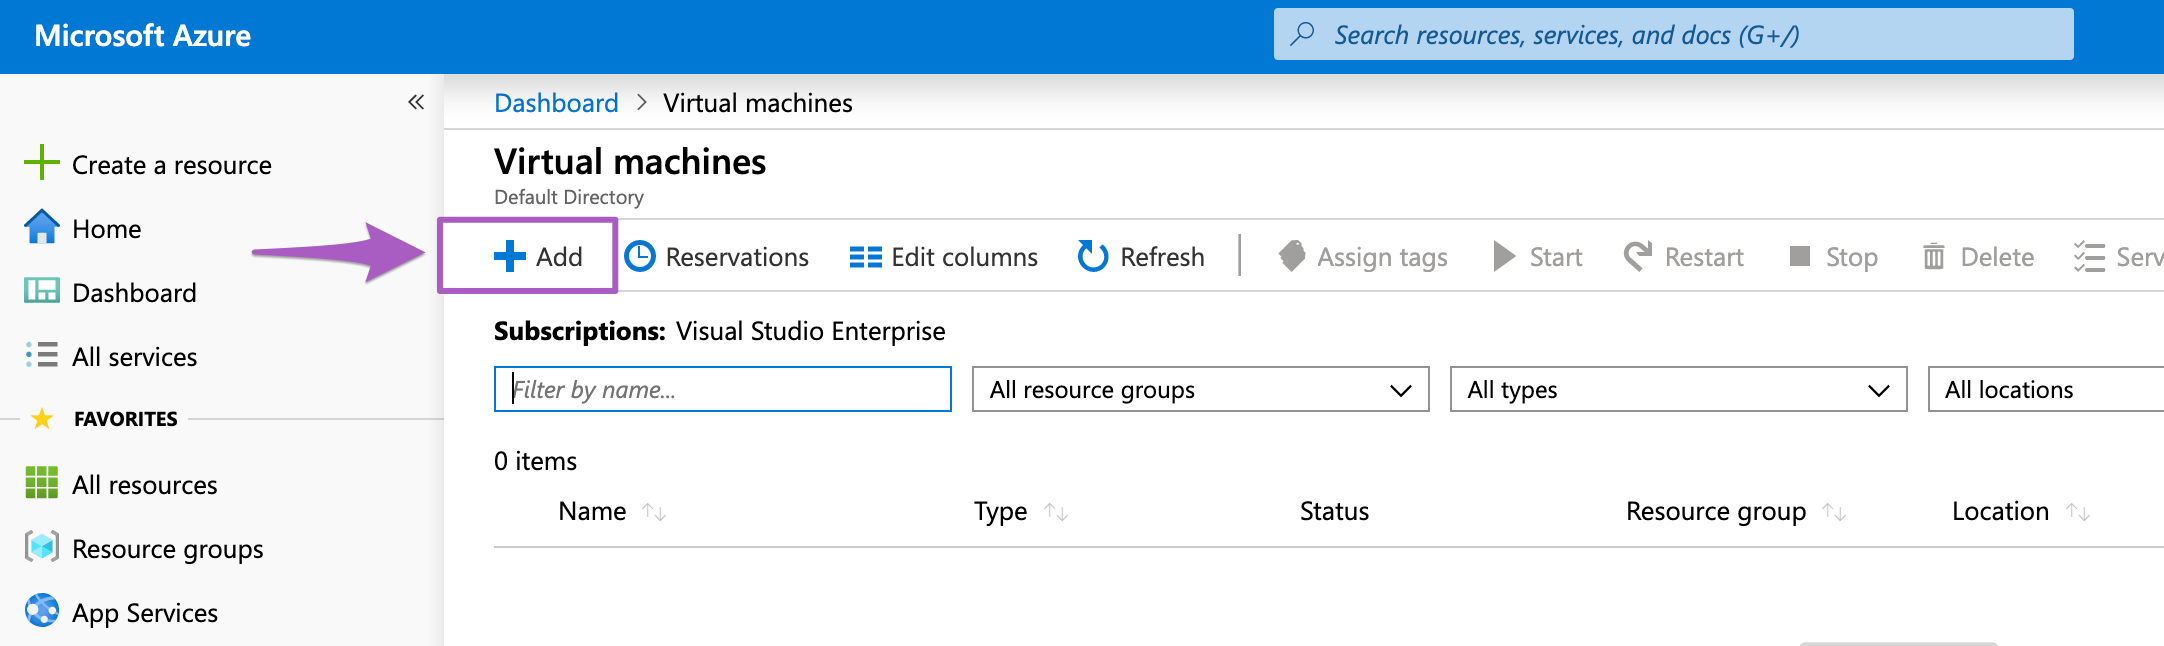
Click + add to create a new Virtual Machine
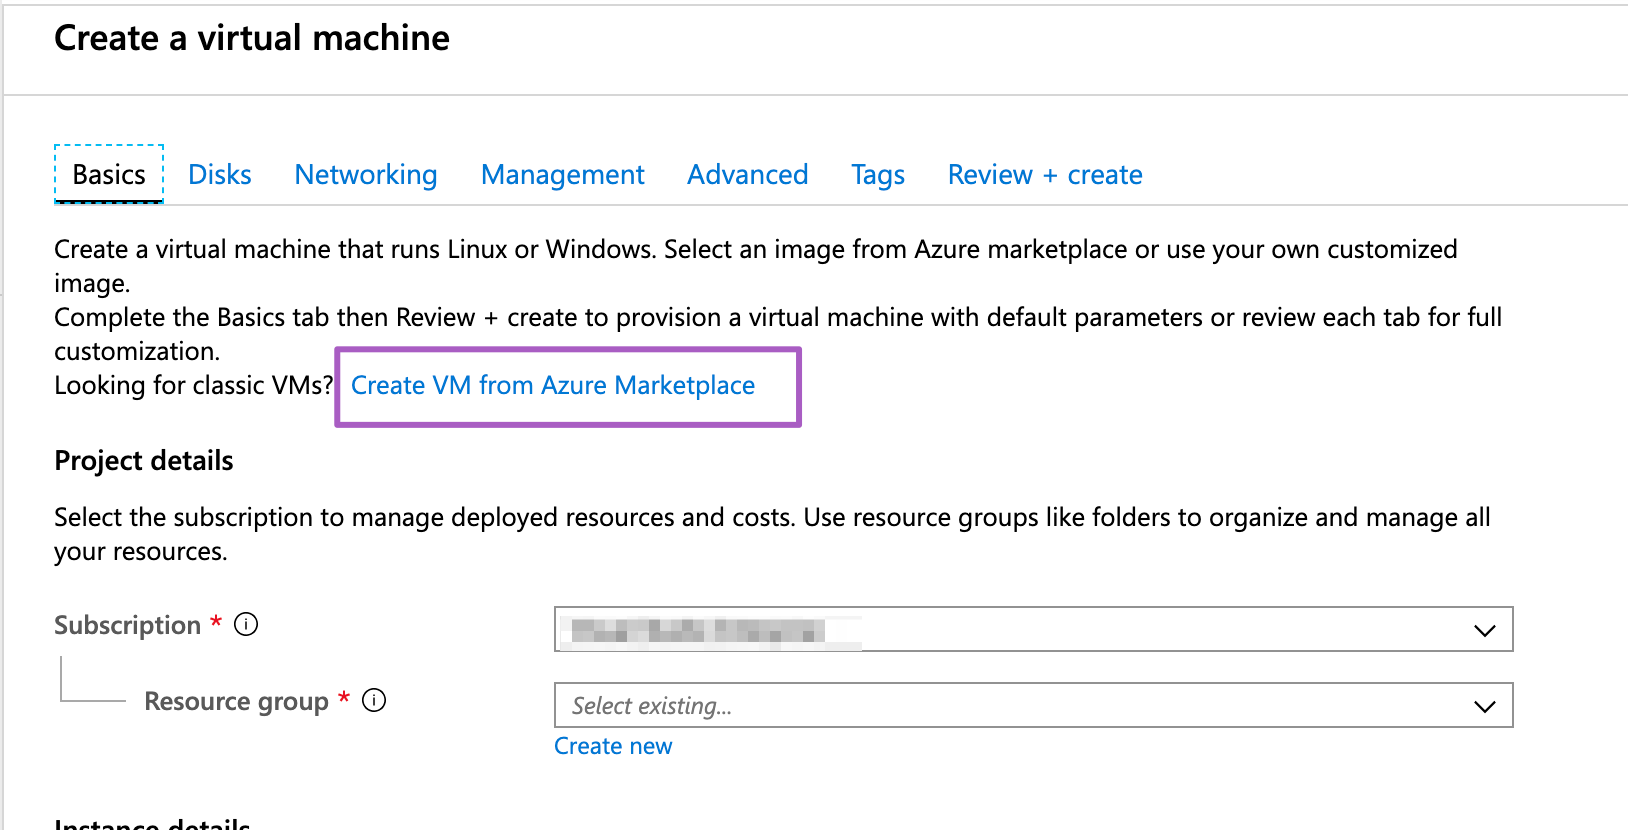
Select Create VM from Marketplace in the next screen. A new screen with all the options for Virtual Machines in Azure will displayed.
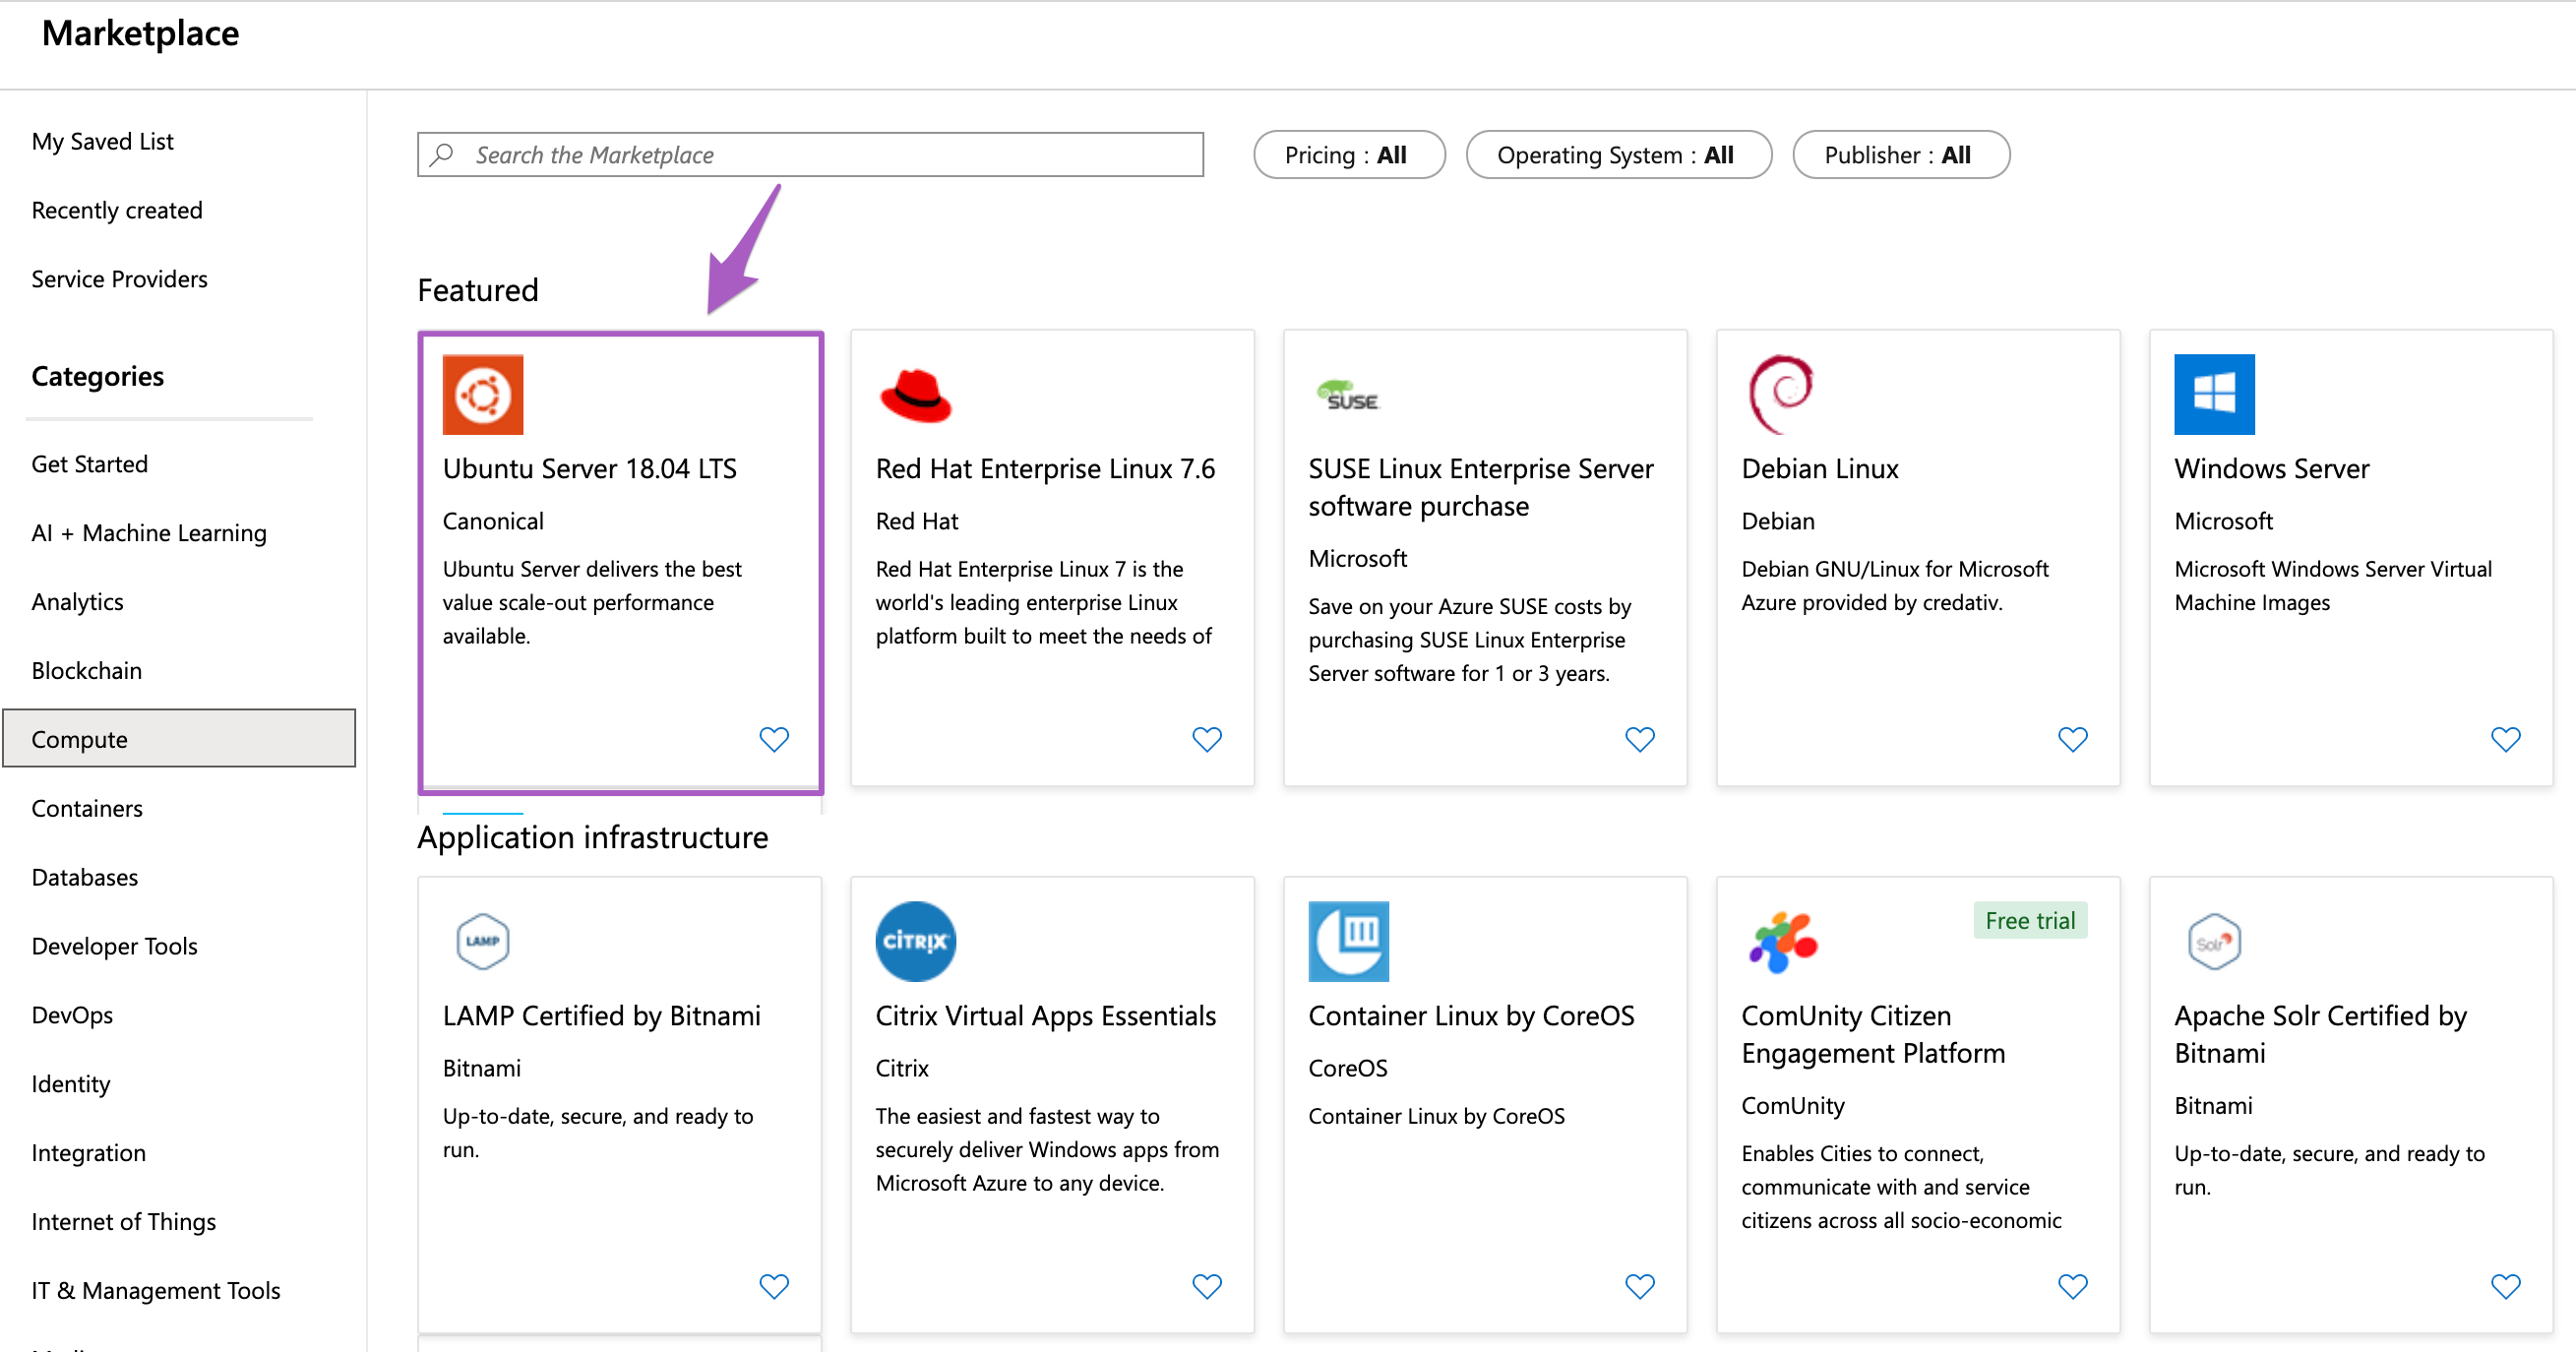
Choose an Ubuntu server for your VM:
Click
Ubuntu Server 22.04 LTS.Make sure
Resource Manageris selected in the next screen and click Create
Customise the Virtual Machine basics:
Subscription. Choose the “Free Trial” if this is what you’re using. Otherwise, choose a different plan. This is the billing account that will be charged.
Resource group. Resource groups let you keep your Azure tools/resources together in an availability region (e.g. WestEurope). If you already have one you’d like to use it select that resource.
Note
If you have never created a Resource Group, click on Create new

Name. Use a descriptive name for your virtual machine (note that you cannot use spaces or special characters).
Region. Choose a location near where you expect your users to be located.
Availability options. Choose “No infrastructure redundancy required”.
Image. Make sure “Ubuntu Server 22.04 LTS” is selected (from the previous step).
Authentication type. Change authentication type to “password”.
Username. Choose a memorable username, this will be your “root” user, and you’ll need it later on.
Password. Type in a password, this will be used later for admin access so make sure it is something memorable.
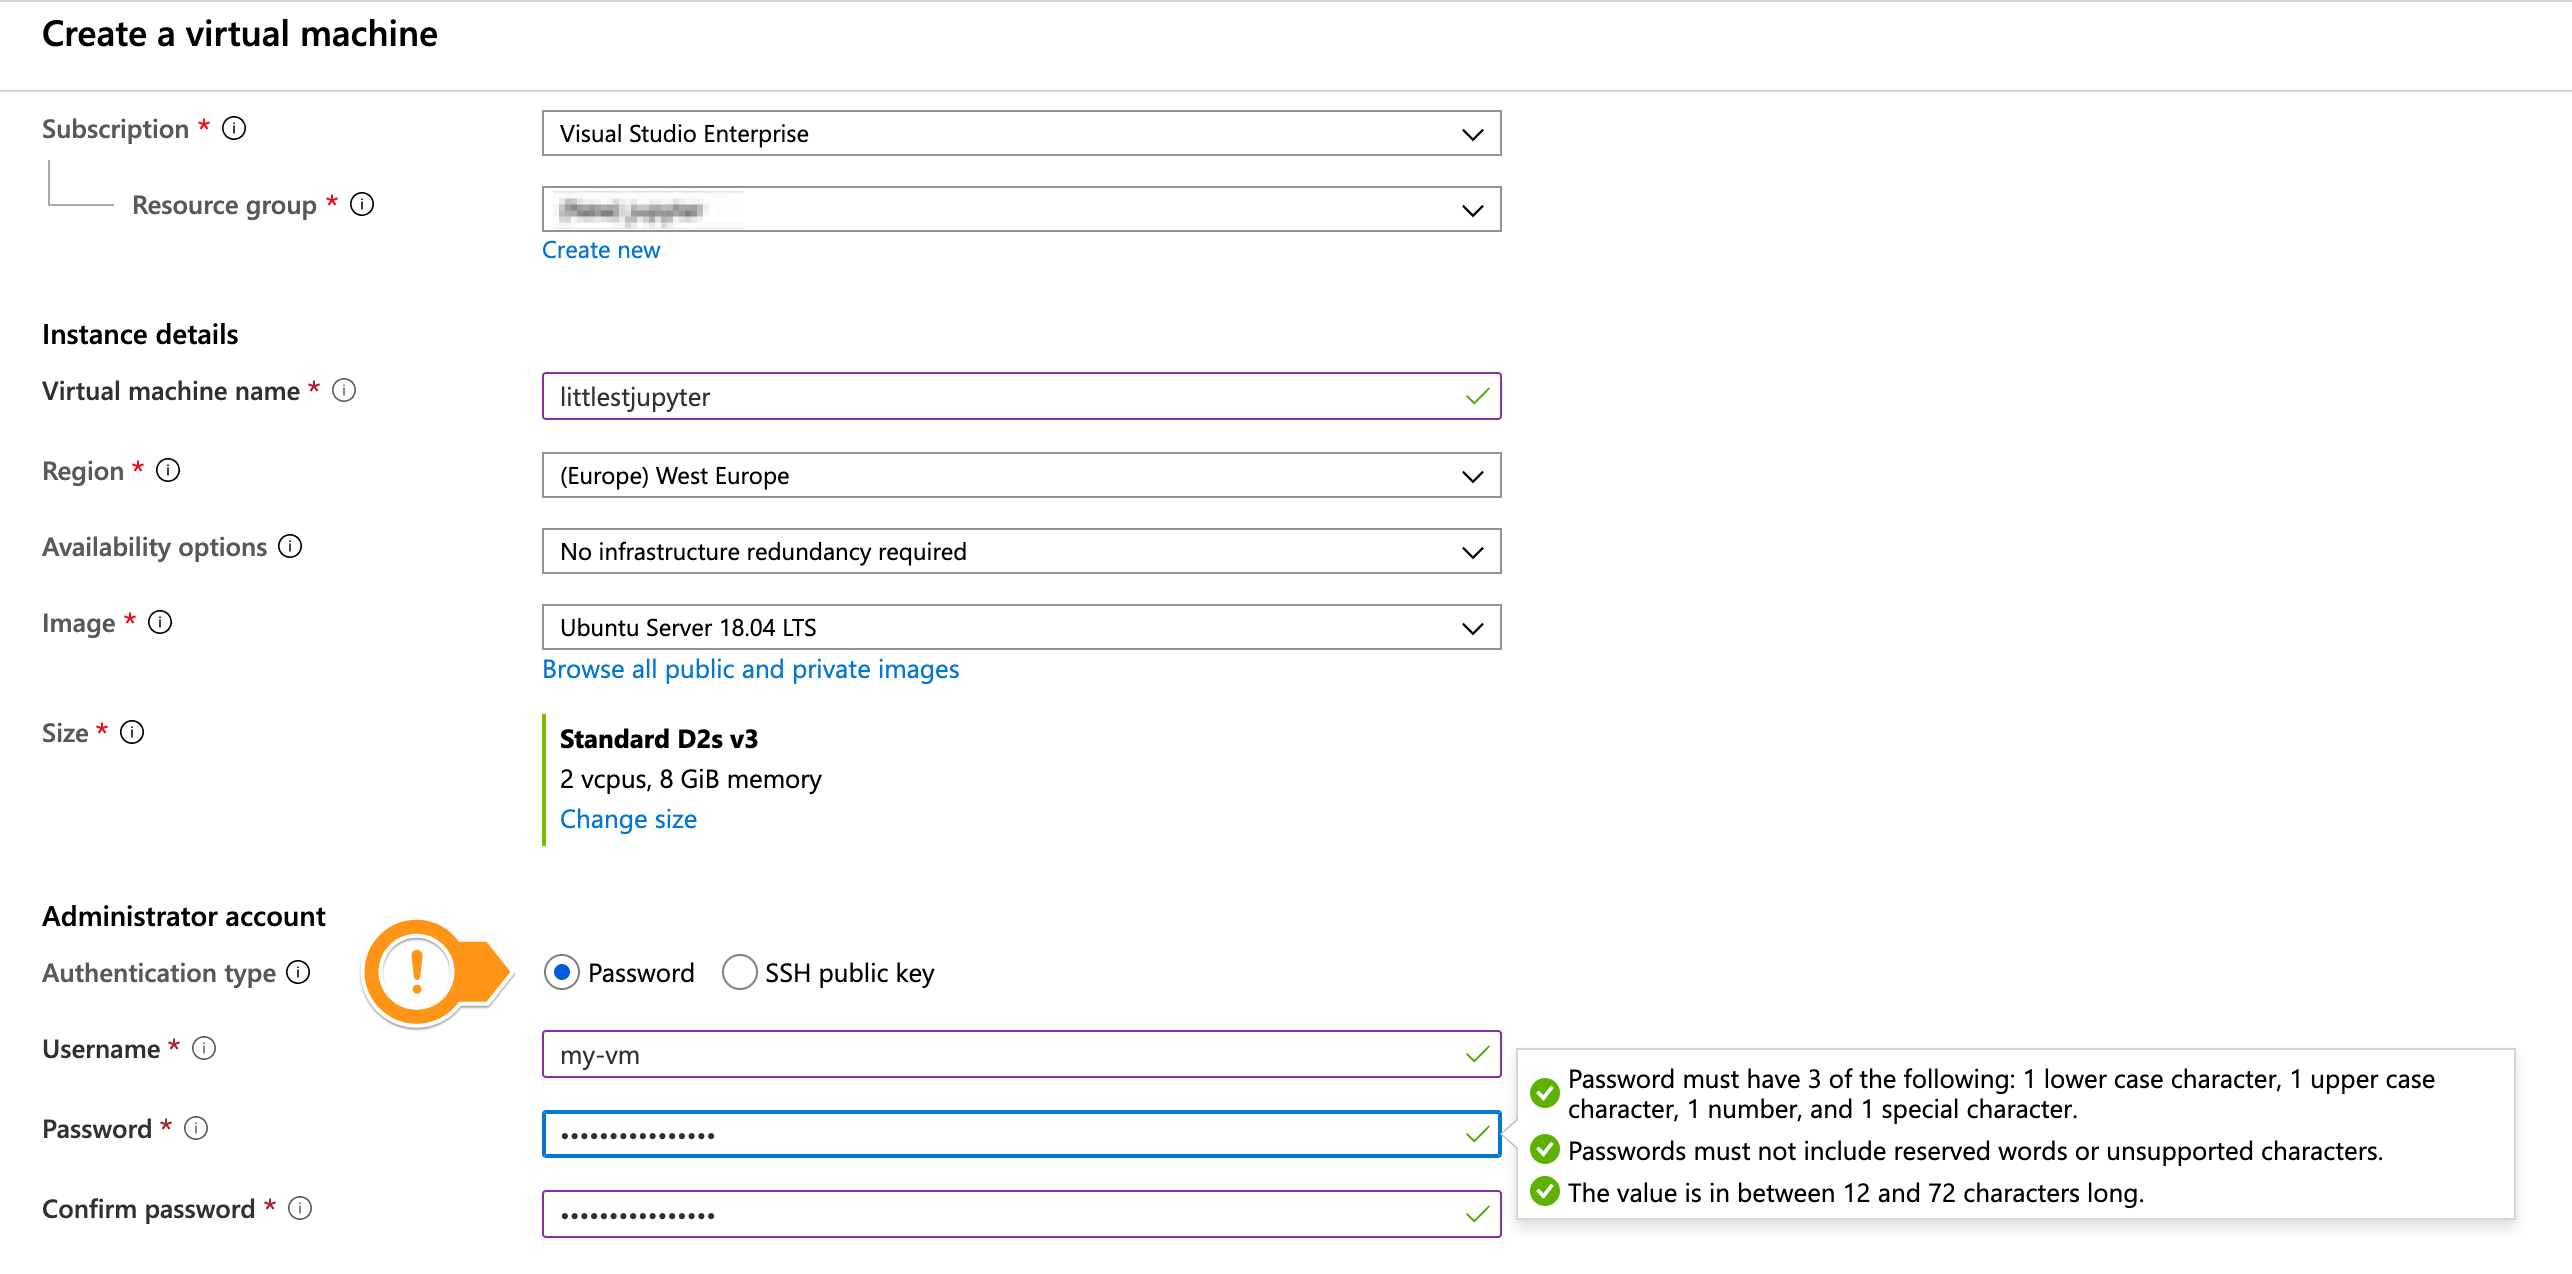
Login with Azure Active Directory. Choose “Off” (usually the default)
Inbound port rules. Leave the defaults for now, and we will update these later on in the Network configuration step.
Before clicking on “Next” we need to select the RAM size for the image.
For this we need to make sure we have enough RAM to accommodate your users. For example, if each user needs 2GB of RAM, and you have 10 total users, you need at least 20GB of RAM on the machine. It’s also good to have a few GB of “buffer” RAM beyond what you think you’ll need.
Click on Change size (see image below)

Note
For more information about estimating memory, CPU and disk needs check The memory section in the TLJH documentation
Select a suitable image (to check available images and prices in your region click on this link).
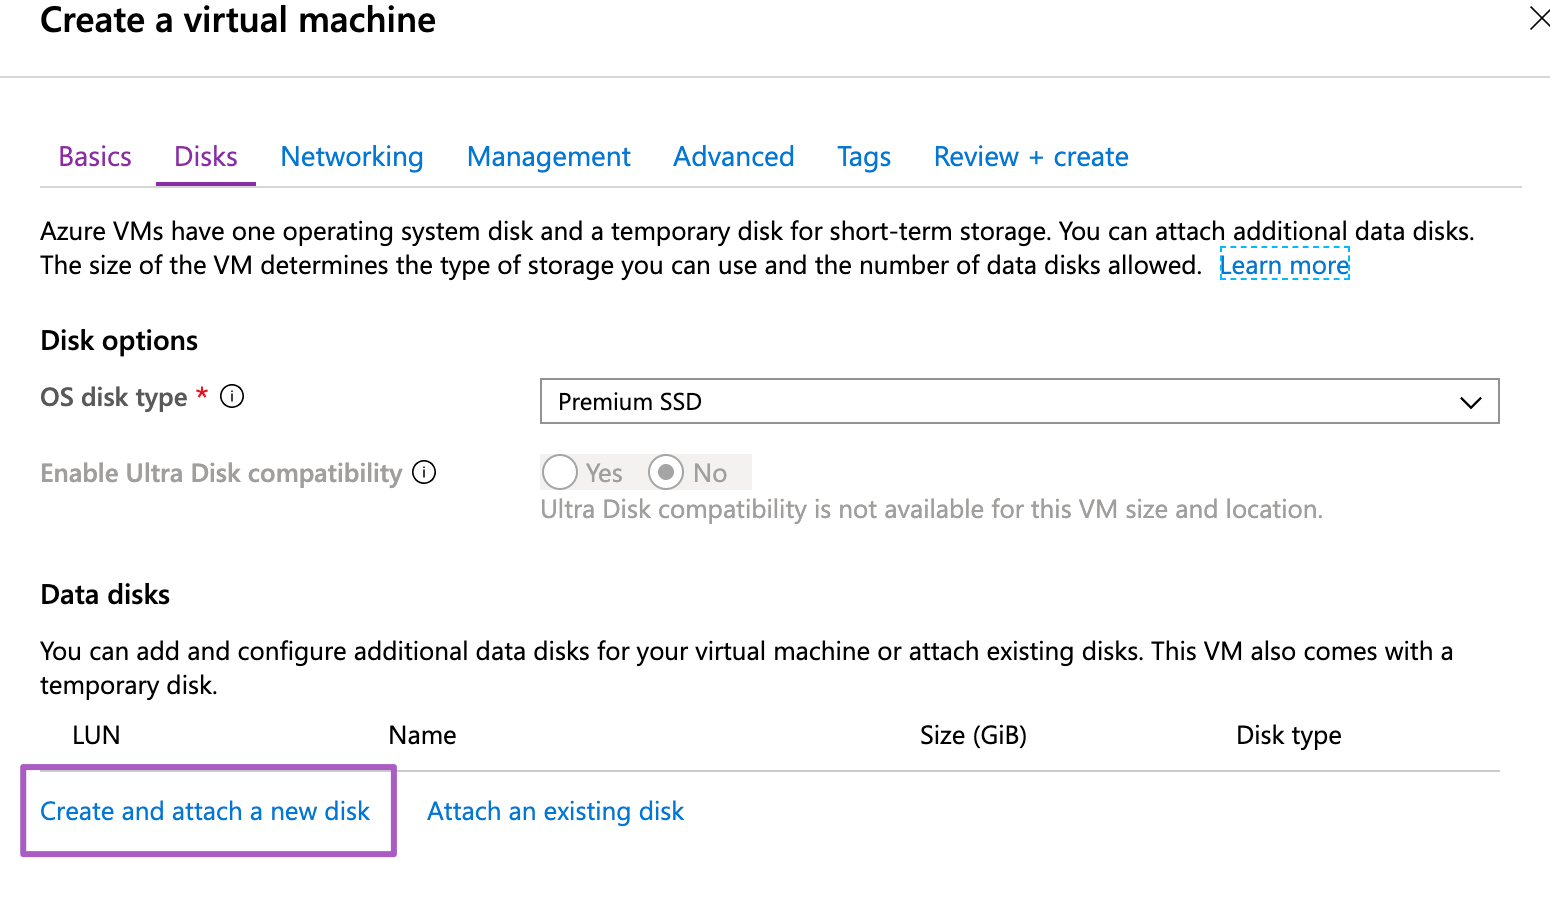
Disks (Storage):
Disk options: select the OS disk type there are options for SDD and HDD. SSD persistent disk gives you a faster but more expensive disk than HDD.
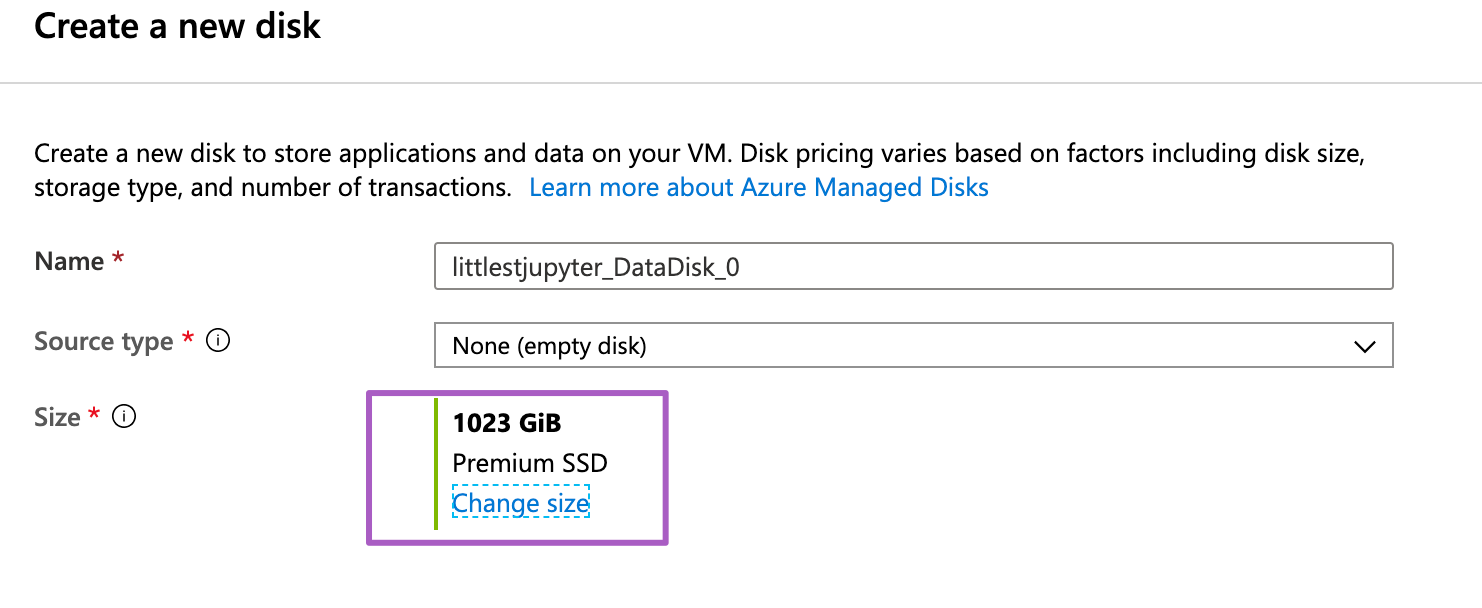
Data disk. Click on create and attach a new disk. Select an appropriate type and size and click ok.
Click “Next”.
Networking
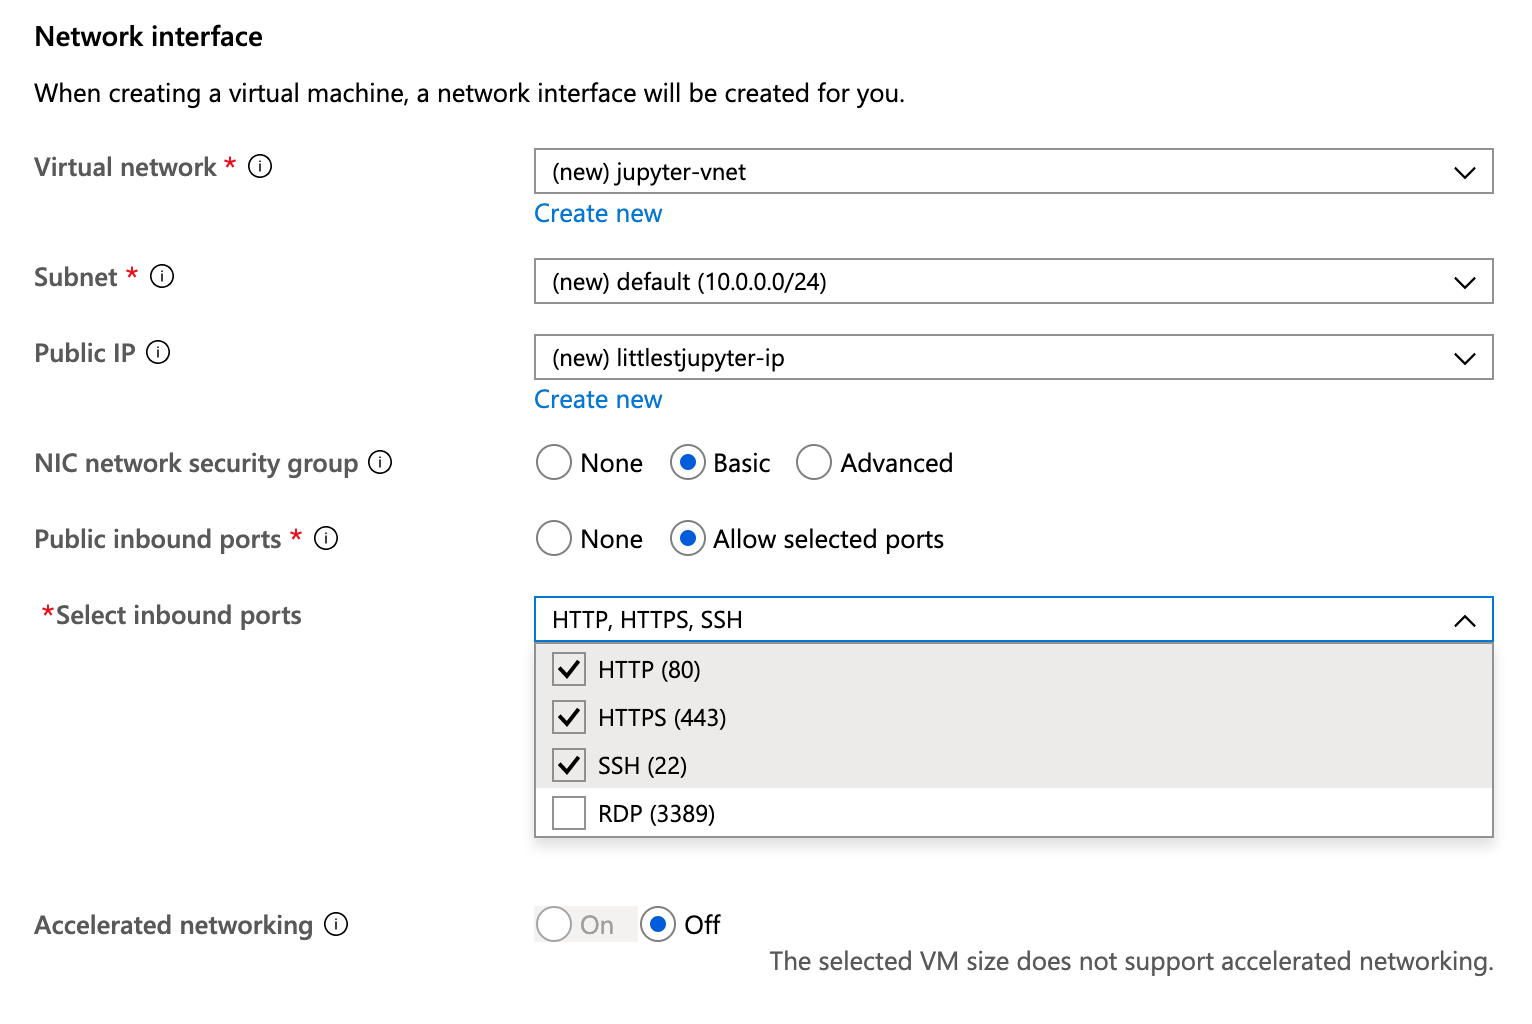
Virtual network. Leave the default values selected.
Subnet. Leave the default values selected.
Public IP address.Leave the default values selected. This will make your server accessible from a browser.
Network Security Group. Choose “Basic”
Public inbound ports. Check HTTP, HTTPS, and SSH.
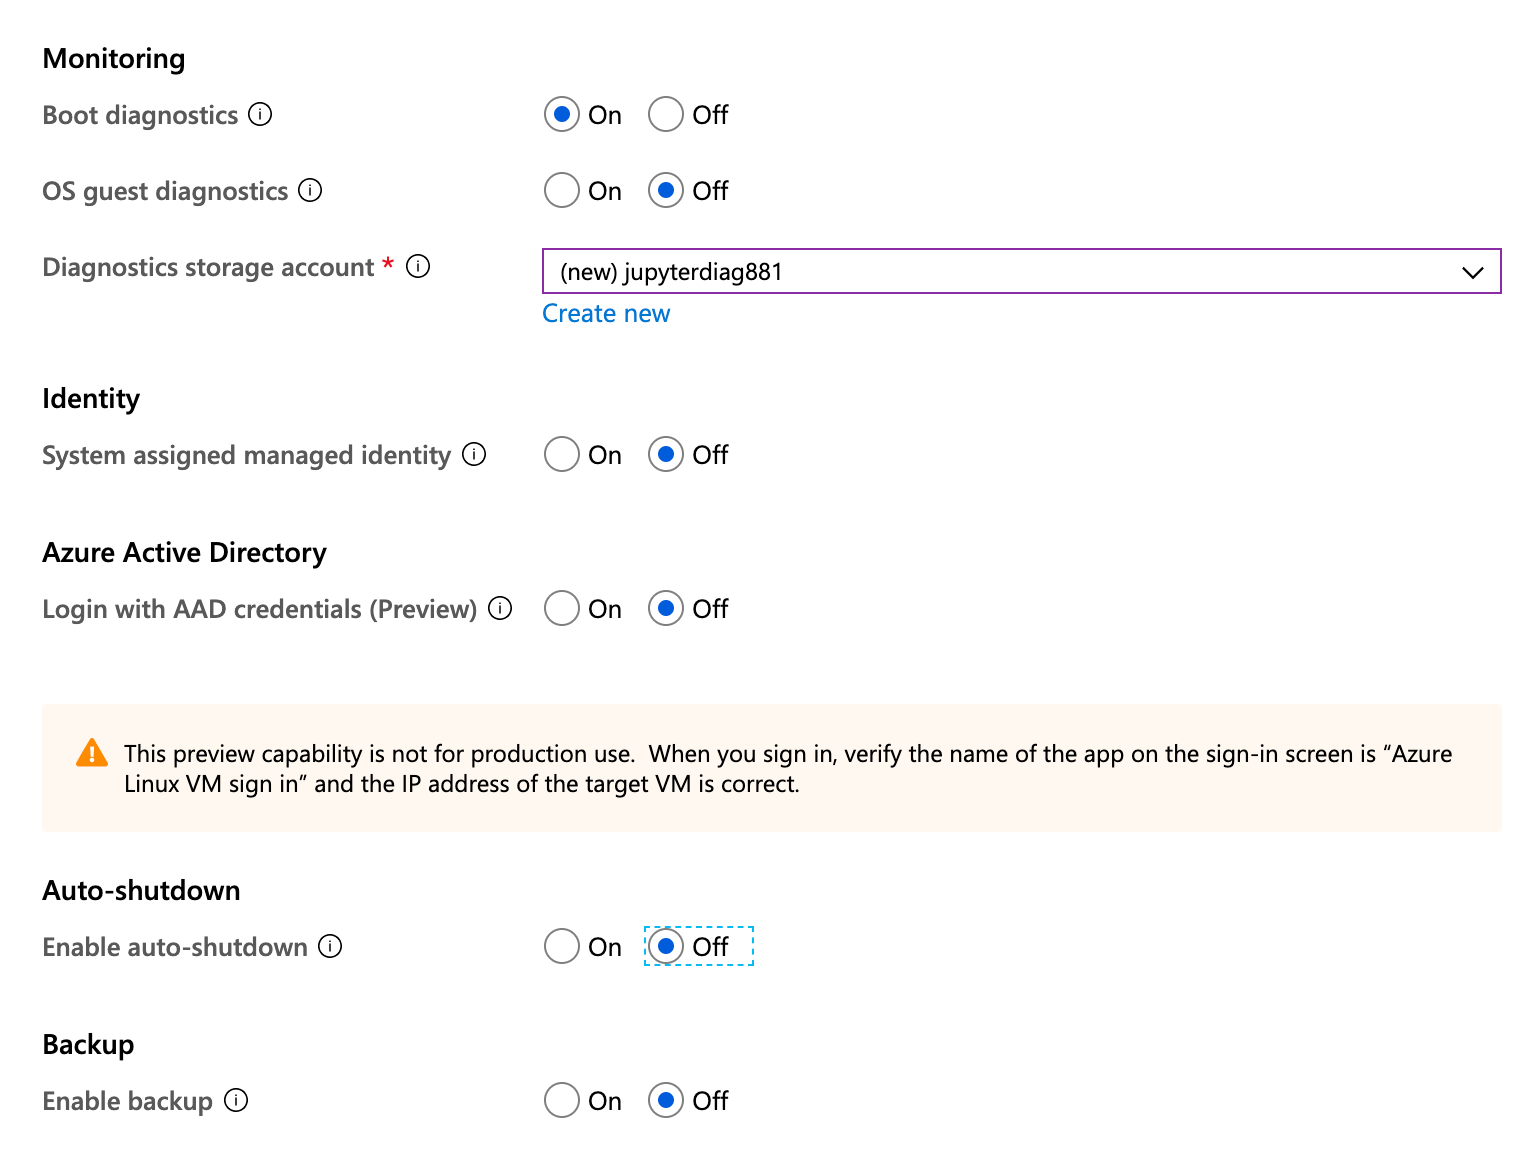
Management
Monitoring
Boot diagnostics. Choose “On”.
OS guest diagnostics. Choose “Off”.
Diagnostics storage account. Leave as the default.
Auto-Shutdown
Enable auto-shutdown. Choose “Off”.
Backup
Backup. Choose “Off”.
System assigned managed identity. Select “Off”.
Advanced settings
Extensions. Make sure there are no extensions listed
Cloud init. We are going to use this section to install TLJH directly into our Virtual Machine.
Copy the code snippet below:
#!/bin/bash
curl -L https://tljh.jupyter.org/bootstrap.py \
  | sudo python3 - \
    --admin <admin-user-name>
where the
admin-user-nameis the root username you chose for your Virtual Machine.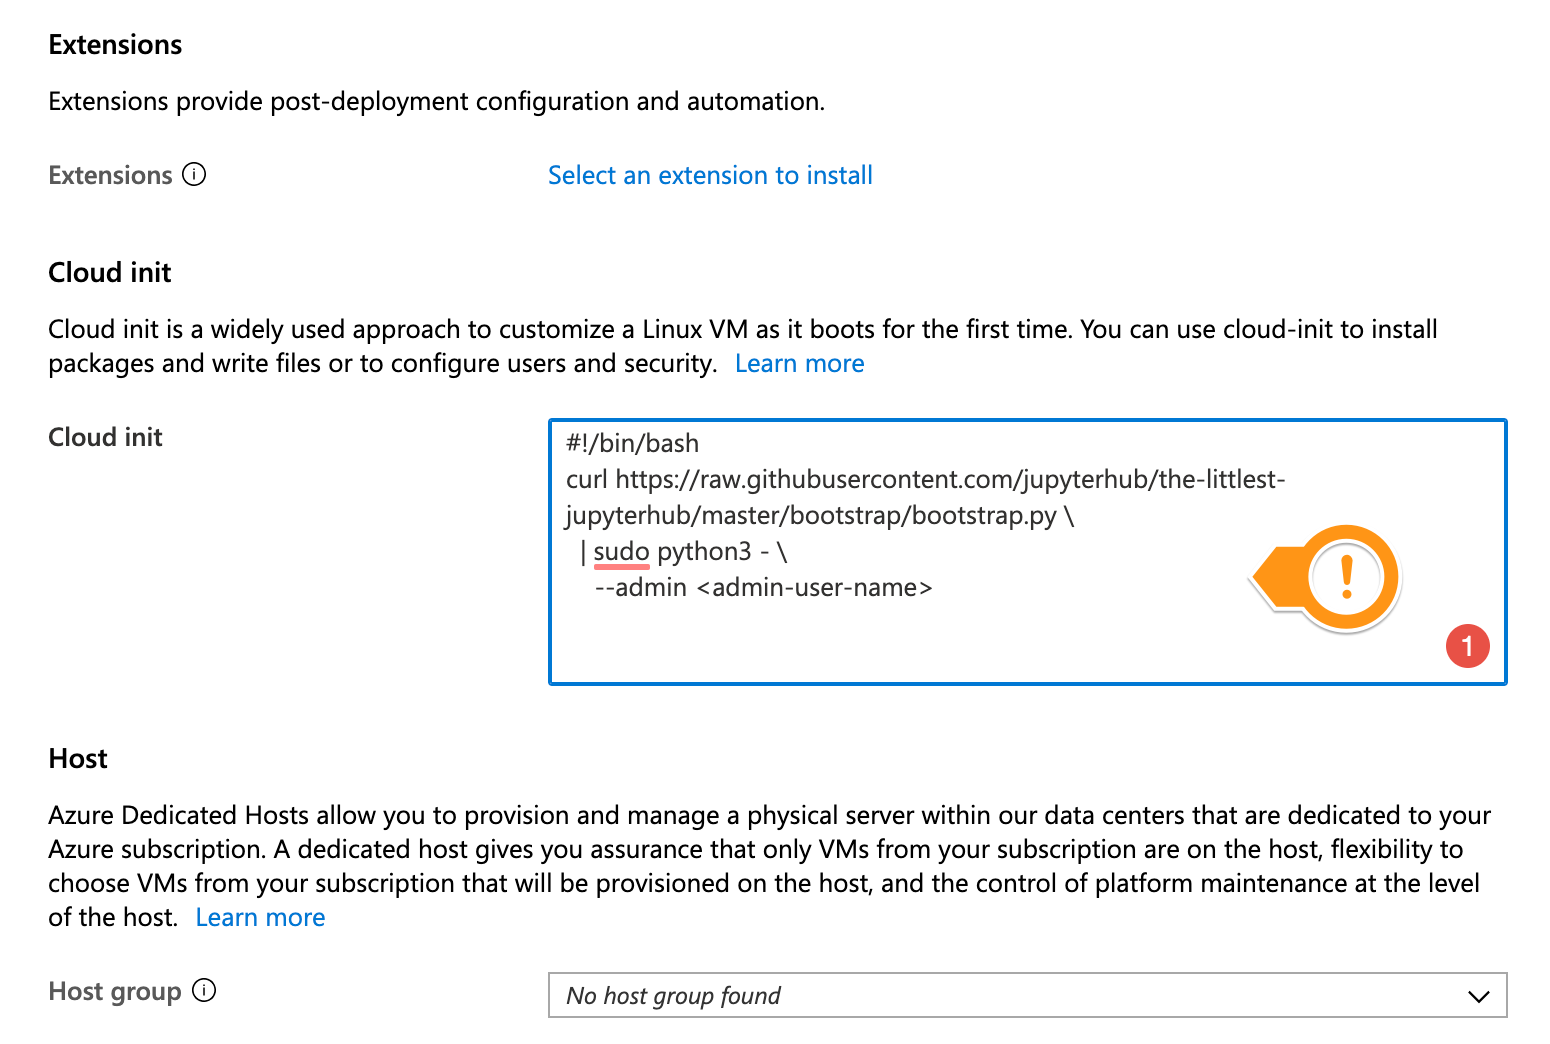
Note
See What does the installer do? if you want to understand exactly what the installer is doing. Customizing the Installer documents other options that can be passed to the installer.
Check the summary and confirm the creation of your Virtual Machine.
Check that the creation of your Virtual Machine worked.
Wait for the virtual machine to be created. This might take about 5-10 minutes.
After completion, you should see a similar screen to the one below:
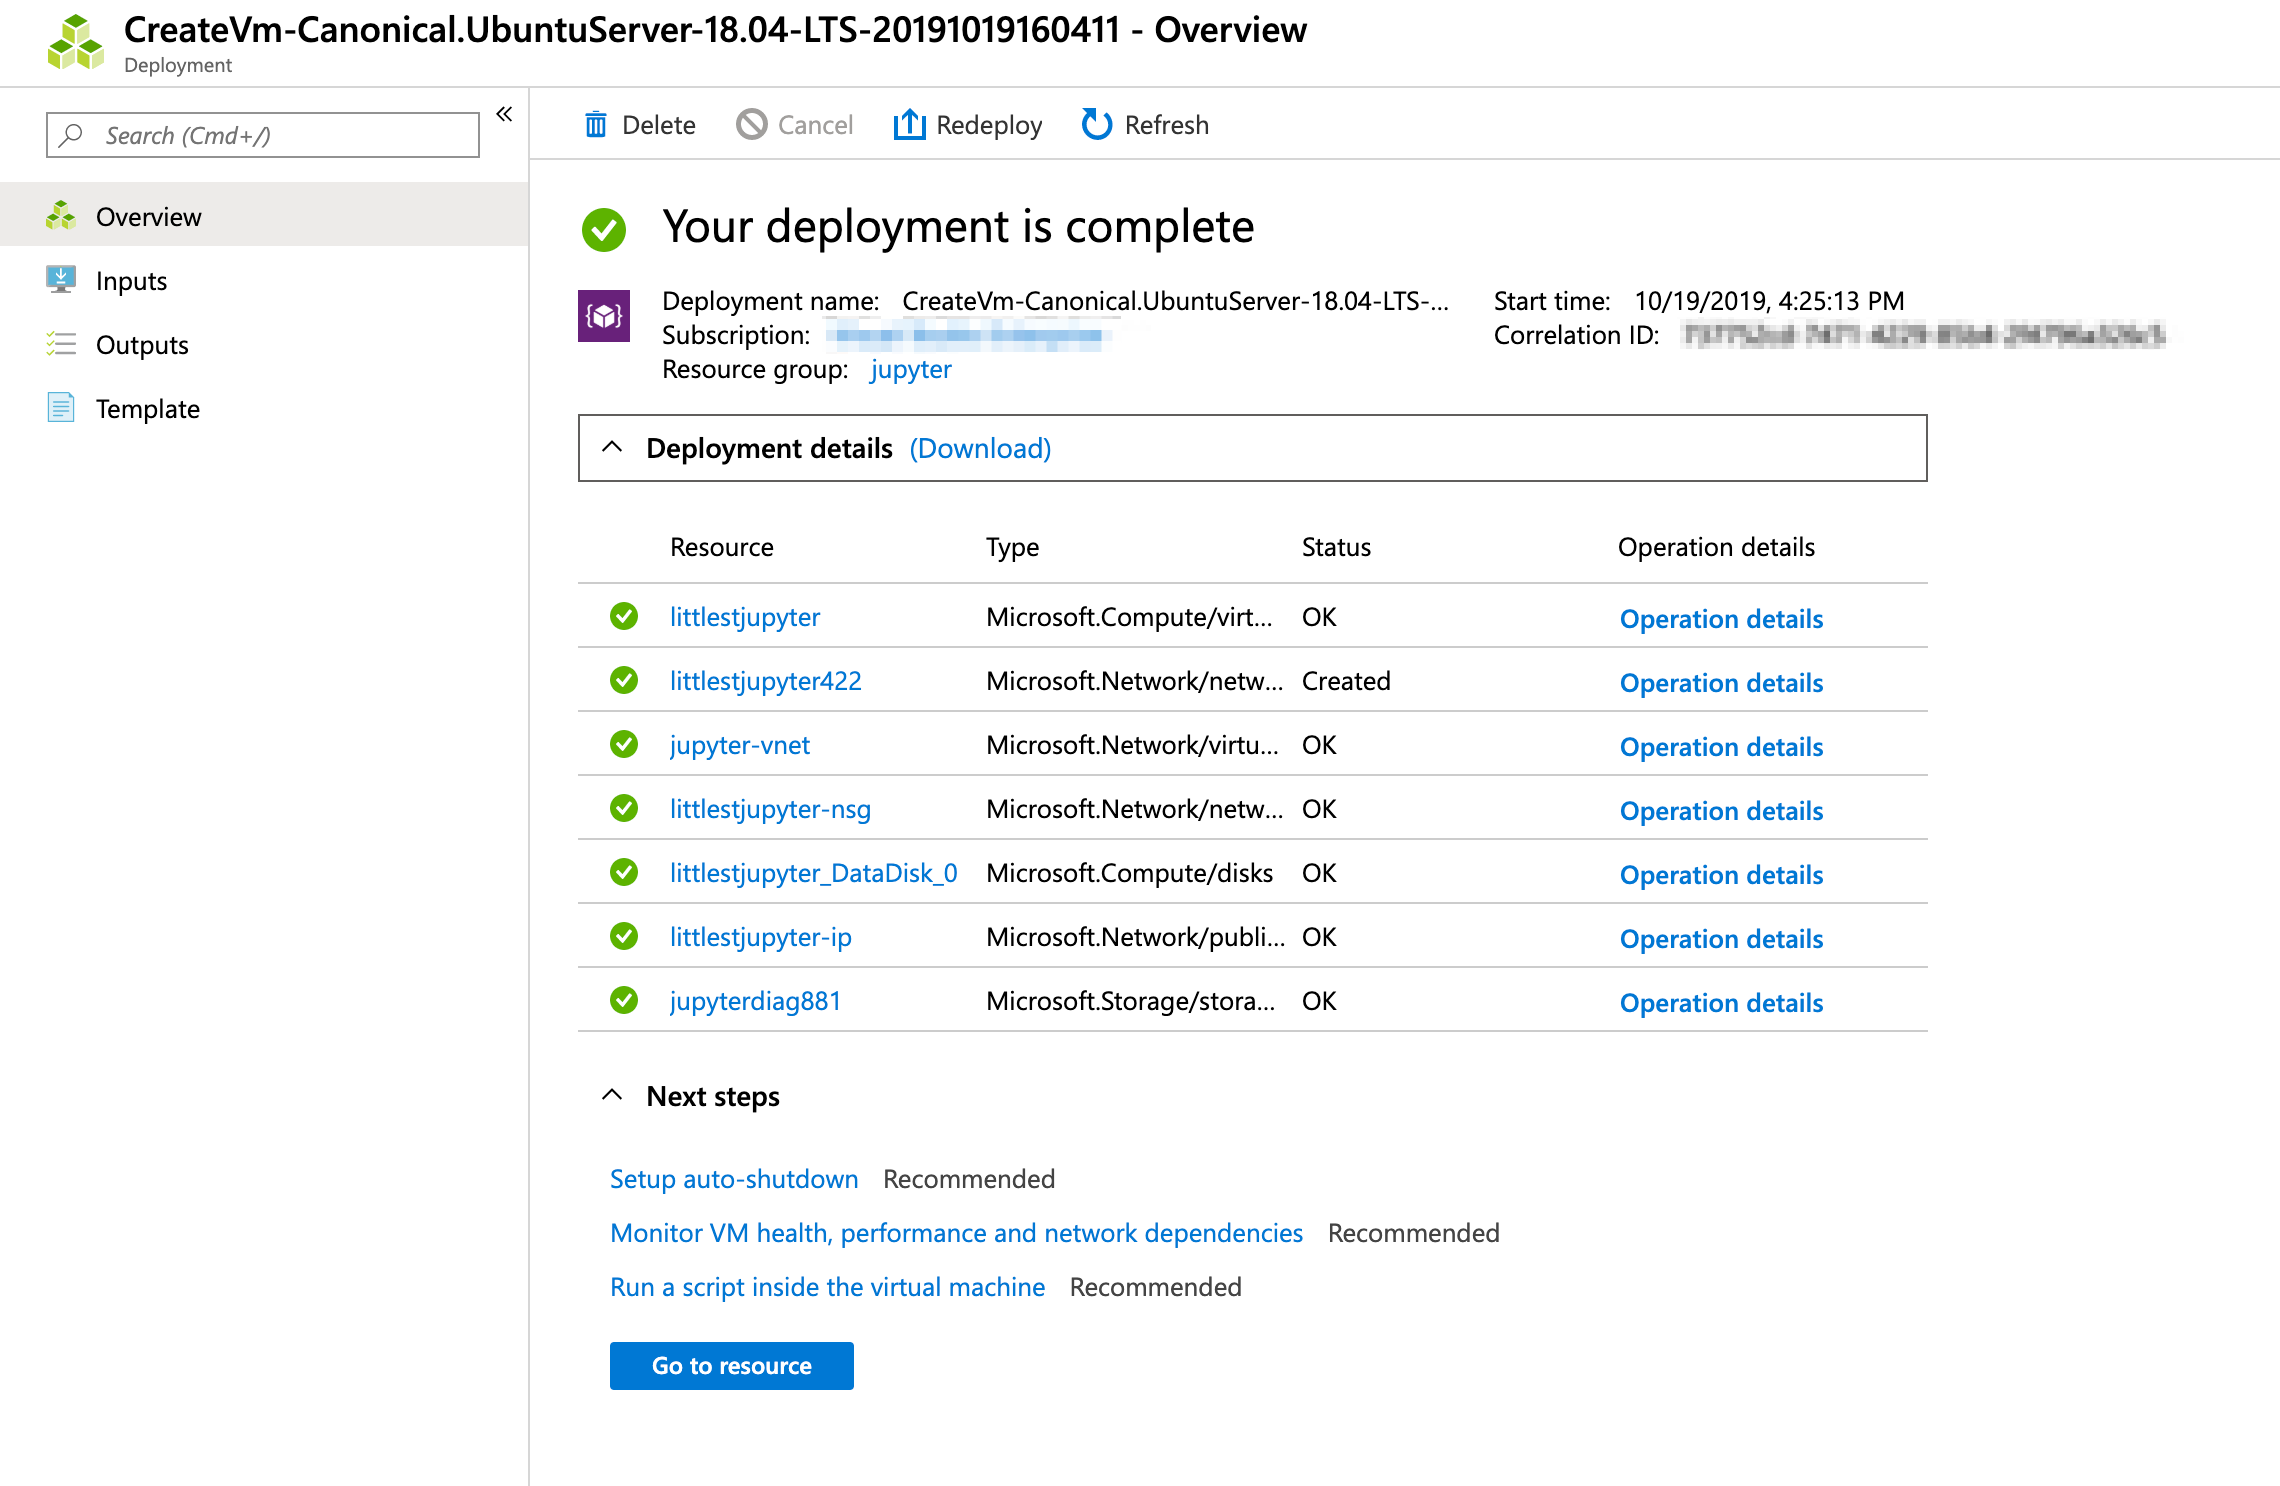
Note that the Littlest JupyterHub should be installing in the background on your new server. It takes around 5-10 minutes for this installation to complete.
Click on the Go to resource button

Check if the installation is completed by copying the Public IP address of your virtual machine, and trying to access it with a browser.
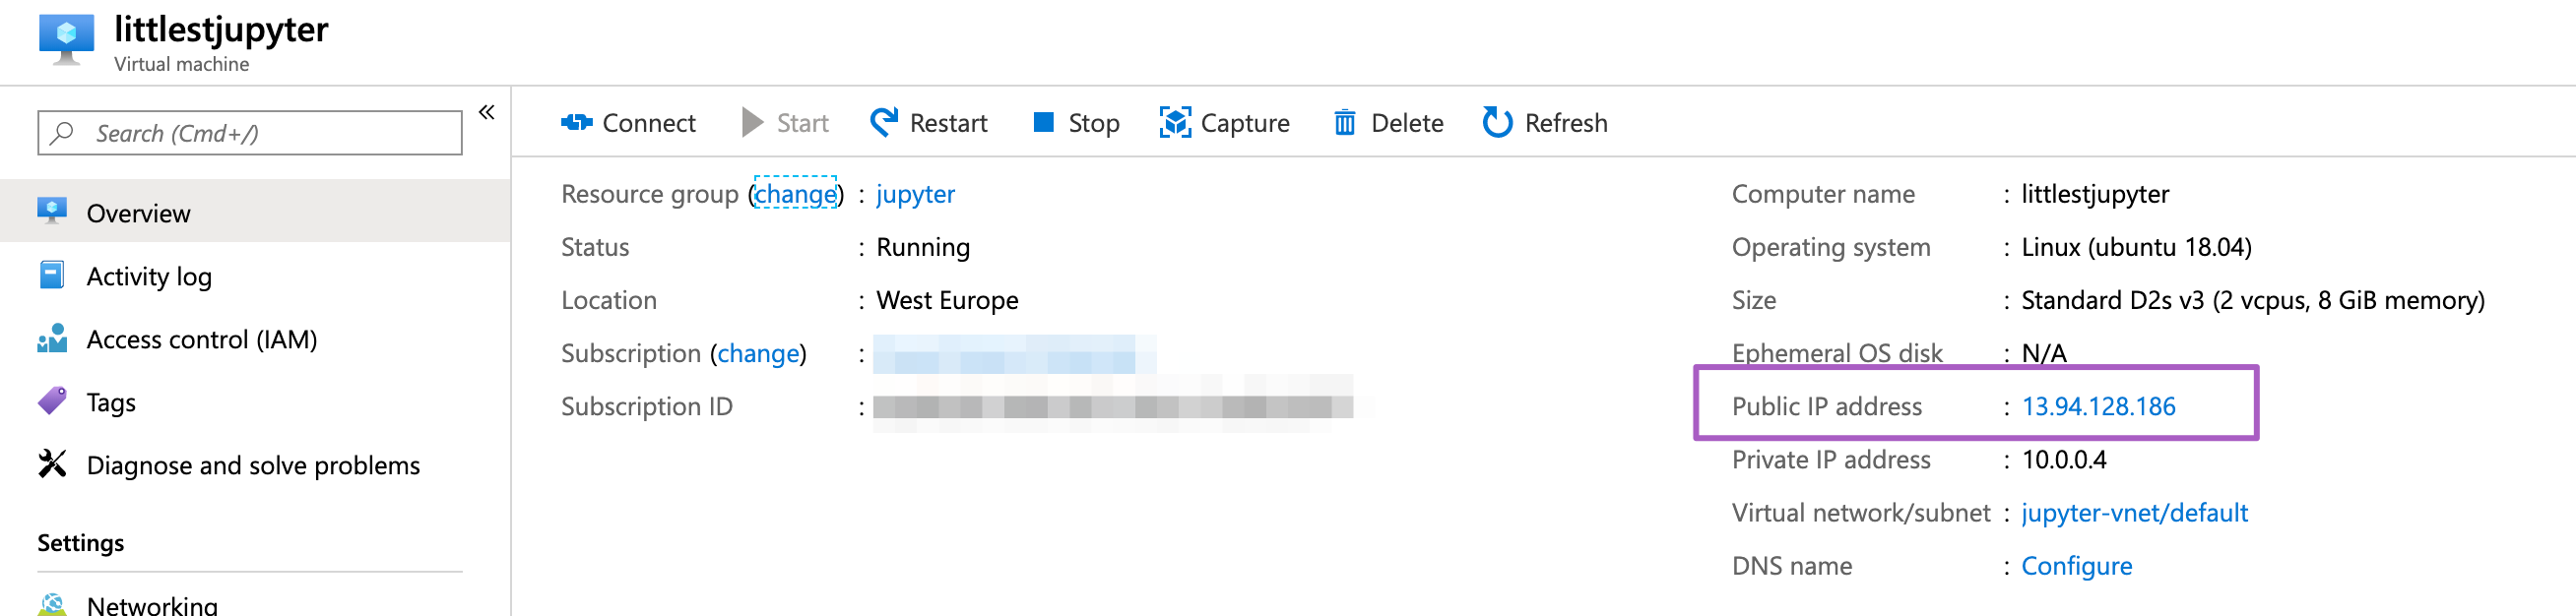
Note that accessing the JupyterHub will fail until the installation is complete, so be patient.
When the installation is complete, it should give you a JupyterHub login page.
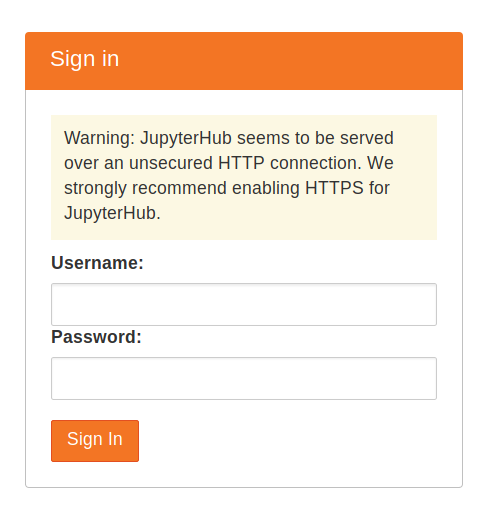
Login using the admin user name you used in step 6, and a password. Use a strong password & note it down somewhere, since this will be the password for the admin user account from now on.
Congratulations, you have a running working JupyterHub! 🎉
Step 2: Adding more users#
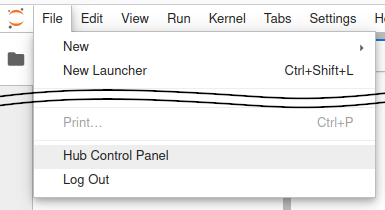
Most administration & configuration of the JupyterHub can be done from the web UI directly. Let’s add a few users who can log in!
In the File menu select the entry for the Hub Control Panel.
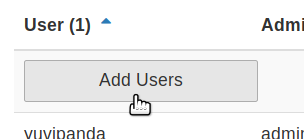
In the control panel, open the Admin link in the top left.

This opens up the JupyterHub admin page, where you can add / delete users, start / stop peoples’ servers and see who is online.
Click the Add Users button.
A Add Users dialog box opens up.
Type the names of users you want to add to this JupyterHub in the dialog box, one per line.
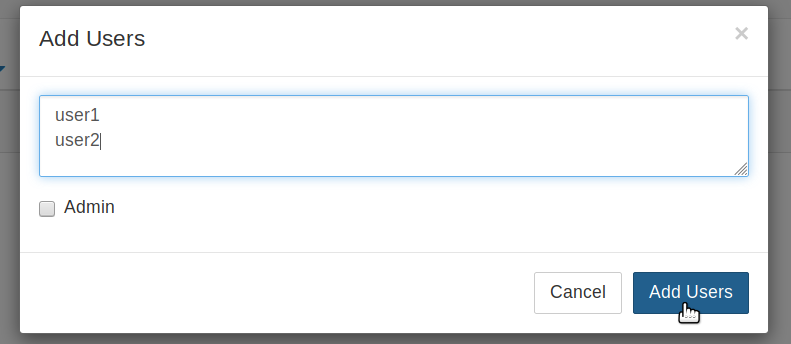
You can tick the Admin checkbox if you want to give admin rights to all these users too.
Click the Add Users button in the dialog box. Your users are now added to the JupyterHub! When they log in for the first time, they can set their password - and use it to log in again in the future.
Congratulations, you now have a multi user JupyterHub that you can add arbitrary users to!
Step 3: Install conda / pip packages for all users#
The User Environment is a conda environment that is shared by all users
in the JupyterHub. Libraries installed in this environment are immediately
available to all users. Admin users can install packages in this environment
with sudo -E.
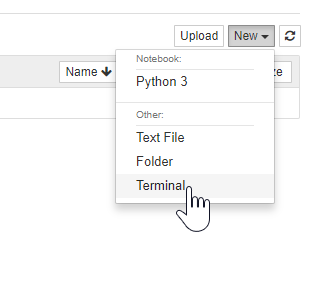
Log in as an admin user and open a Terminal in your Jupyter Notebook.
Install gdal from conda-forge.
sudo -E conda install -c conda-forge gdal
The
sudo -Eis very important!Install there with
pipsudo -E pip install there
The packages gdal and there are now available to all users in JupyterHub.
If a user already had a python notebook running, they have to restart their notebook’s
kernel to make the new libraries available.
See Install conda, pip or apt packages for more information.