Installing on Amazon Web Services#
Goal#
To have a JupyterHub with admin users and a user environment with conda / pip packages.
Prerequisites#
An Amazon Web Services account.
If asked to choose a default region, choose the one closest to the majority of your users.
Step 1: Installing The Littlest JupyterHub#
Let’s create the server on which we can run JupyterHub.
Go to Amazon Web Services and click the gold button ‘Sign In to the Console’ in the upper right. Log in with your Amazon Web Services account.
If you need to adjust your region from your default, there is a drop-down menu between your name and the Support menu on the far right of the dark navigation bar across the top of the window. Adjust the region to match the closest one to the majority of your users.
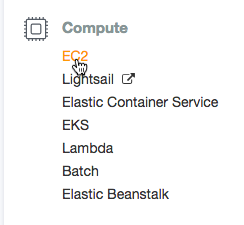
On the screen listing all the available services, pick EC2 under Compute on the left side at the top of the first column.
This will take you to the EC2 Management Console.
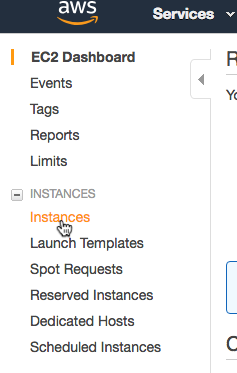
From the navigation menu listing on the far left side of the EC2 Management Console, choose Instances under the light gray INSTANCES sub-heading.
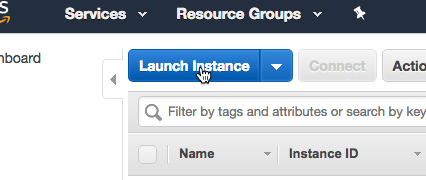
In the main window of the EC2 Management Console, towards the top left, click on the bright blue Launch Instance button.
This will start the ‘launch instance wizard’ process. This lets you customize the kind of server you want, the resources it will have and its name.
On the page Step 1: Choose an Amazon Machine Image (AMI) you are going to pick the base image your remote server will have. The view will default to the ‘Quick-start’ tab selected and just a few down the page, select Ubuntu Server 22.04 LTS (HVM), SSD Volume Type - ami-XXXXXXXXXXXXXXXXX, leaving
64-bit (x86)toggled.
The
amialpha-numeric at the end references the specific Amazon machine image, ignore this as Amazon updates them routinely. The Ubuntu Server 22.04 LTS (HVM) is the important part.After selecting the AMI, you’ll be at Step 2: Choose an Instance Type.
There will be a long listing of the types and numbers of CPUs that Amazon offers. Select the one you want and then select the button
Next: Configure Instance Detailsin the lower right corner.Check out our guide on How To Estimate Memory / CPU / Disk needed to help pick how much Memory / CPU your server needs. We recommend you use a server with at least 2GB of RAM, such as a t3.small. However, if you need to minimise costs you can use a server with 1GB RAM such as a t2.micro, but performance will be limited.
You may wish to consult the listing here because it shows cost per hour. The On Demand price is the pertinent cost.
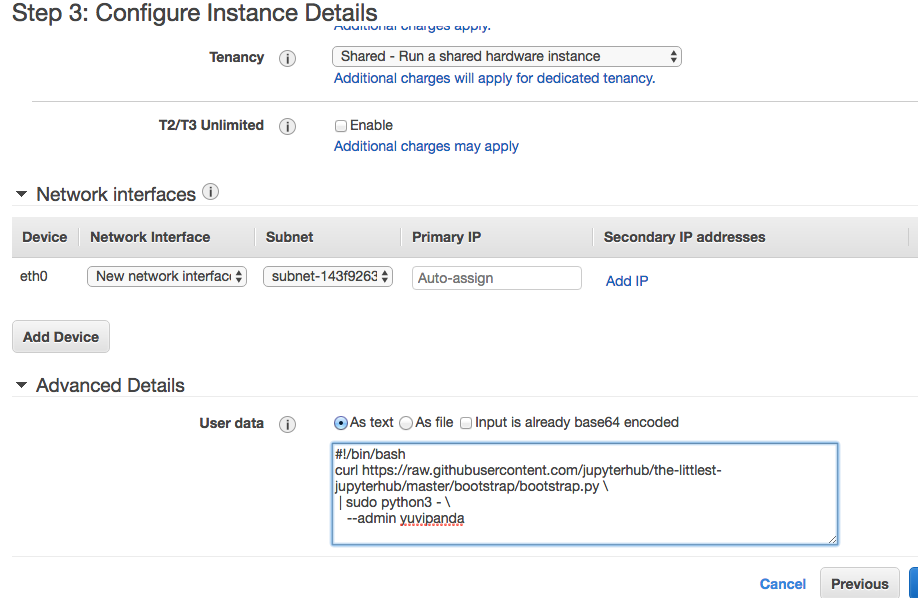
GPU graphicsandGPU computeproducts are also available around half way down the pageUnder Step 3: Configure Instance Details, scroll to the bottom of the page and toggle the arrow next to Advanced Details. Scroll down to ‘User data’. Copy the text below, and paste it into the User data text box. Replace
<admin-user-name>with the name of the first admin user for this JupyterHub. This admin user can log in after the JupyterHub is set up, and configure it. Remember to add your username!#!/bin/bash curl -L https://tljh.jupyter.org/bootstrap.py \ | sudo python3 - \ --admin <admin-user-name>
Note
See What does the installer do? for a detailed description and Customizing the Installer for other options that can be used.
Under Step 4: Add Storage, you can change the size and type of your disk by adjusting the value in **Size (GiB) and selecting Volume Type.
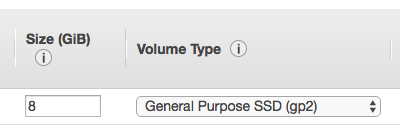
Check out Estimate Memory / CPU / Disk needed to help pick how much Disk space your server needs.
Hover over the encircled
inext to Volume Type for an explanation of each. Leaving the default as is is fine.General Purpose SSD (gp2)is recommended for most workloads. WithProvisioned IOPS SSD (io1)being the highest-performance SSD volume. Magnetic (standard) is a previous generation volume and not suited for a hub for multi-users.When finished, click Next: Add Tags in the bottom right corner.
Under Step 5: Add Tags, click Add Tag and enter Name under the Key field. In the Value field in the Name row, give your new server a memorable name that identifies what purpose this JupyterHub will be used for.

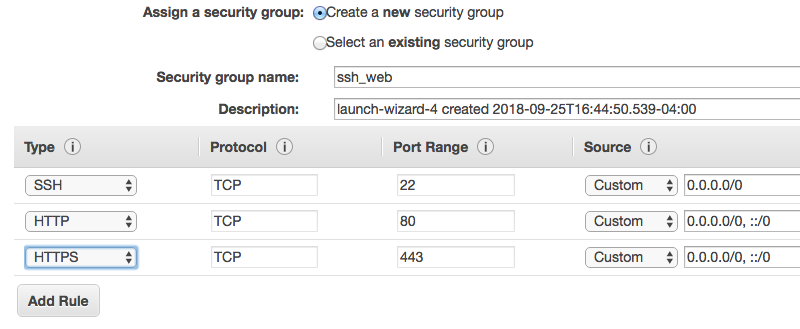
Under Step 6: Configure Security Group, you’ll set the firewall rules that control the traffic for your instance. Specifically you’ll want to add rules to allow both HTTP Traffic and HTTPS Traffic. For advanced troubleshooting, it will be helpful to set rules so you can use SSH to connect (port 22).
If you have never used your Amazon account before, you’ll have to select Create a new security group. You should give it a distinctive name under Security group name such as
ssh_webfor future reference. If you already have a security group, you can select it and adjust it to have the rules you need, if you prefer.The rules will default to include
SSH. Leave that there, and then click on the Add Rule button. Under Type for the new rule, change the field to HTTP. The other boxes will get filled in appropritely. Again, click on the Add Rule button. This time under Type for the new rule, change the field to HTTPS.The warning is there to remind you this opens things up to some degree but this is necessary in order to let your users connect. However, this warning is a good reminder that you should monitor your server to insure it is available for users who may need it.
When the security rules are set, click on the blue button in the bottom right Review and Launch. This will give you a chance to review things because very soon you’ll be launching and start paying for any resources you use.
Note that you’ll see two HTTP listings and two HTTPS listings under Security Groups even though you only made one for each. This is normal & necessary to match both IPv4 & IPv6 types of IP addresses.
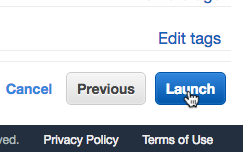
When you are happy, press the blue Launch button in the bottom right corner to nearly conclude your journey through the instance launch wizard.
In the dialog box that pops up as the last step before launching is triggered, you need to choose what to do about an identifying key pair and acknowledge your choice in order to proceed. If you already have a key pair you can select to associate it with this instance, otherwise you need to Create a new key pair. Choosing to
Proceed without a key pairis not recommended as you’ll have no way to access your server via SSH if anything goes wrong with the Jupyterhub and have no way to recover files via download.Download and keep the key pair file unless you are associating one you already have.

With the key pair associated, click the Launch instances button to start creating the server that’ll run TLJH.

Following the launch initiation, you’ll be taken to a Launch Status notification screen. You can see more information about the details if you click on the alphanumeric link to the launching instance following the text, “
The following instance launches have been initiated:”.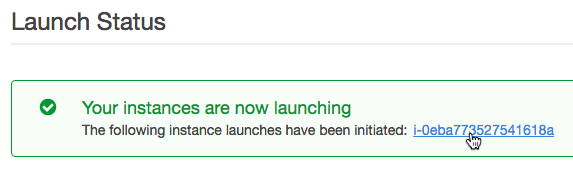
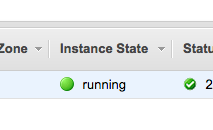
That link will take you back to the EC2 Management Console with settings that will limit the view in the console to just that instance. (Delete the filter in the search bar if you want to see any other instances you may have.) At first the server will be starting up, and then when the Instance state is green the server is running.
If you already have instances running in your account, the screen will look different if you disable that filter. But you want to pay attention to the row with the name of the server you made.
In a few seconds your server will be created, and you can see the Public IP used to access it in the panel at the bottom of the console. If it isn’t displayed, click on the row for that instance in the console. It will look like a pattern similar to 12.30.230.127.

The Littlest JupyterHub is now installing in the background on your new server. It takes around 10 minutes for this installation to complete.
Check if the installation is complete by copying the Public IP of your server, and trying to access it from within a browser. If it has been 10 minutes, paste the public IP into the URL bar of your browser and hit return to try to connect.
Accessing the JupyterHub will fail until the installation is complete, so be patient. The next step below this one shows the login window you are expecting to see when trying the URL and things work. While waiting until the appropriate time to try, another way to check if things are churning away, is to open the System Log. To do this, go to the EC2 Management Console & highlight the instance by clicking on that row and then right-click Monitor and troubleshoot > Get system log.
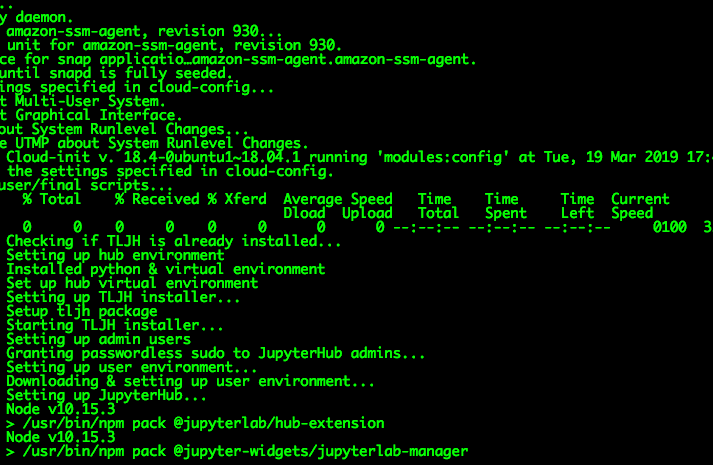
When the Jupyterhub creation process finishes and the hub is ready to show the login, the System Log should look similar to the image below. Scroll to the bottom of your output from the previous step. Note the line Starting TLJH installer, you may also see Started jupyterhub.service
When the installation is complete, it should give you a JupyterHub login page.
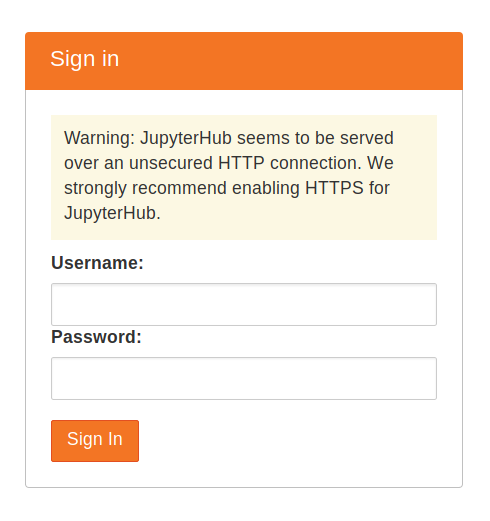
Login using the admin user name you used in step 7, and a password. Use a strong password & note it down somewhere, since this will be the password for the admin user account from now on.
Congratulations, you have a running working JupyterHub!
Step 2: Adding more users#
Most administration & configuration of the JupyterHub can be done from the web UI directly. Let’s add a few users who can log in!
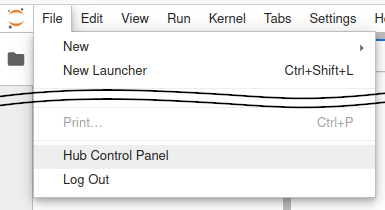
In the File menu select the entry for the Hub Control Panel.
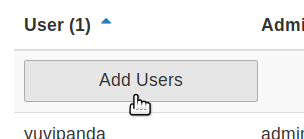
In the control panel, open the Admin link in the top left.

This opens up the JupyterHub admin page, where you can add / delete users, start / stop peoples’ servers and see who is online.
Click the Add Users button.
A Add Users dialog box opens up.
Type the names of users you want to add to this JupyterHub in the dialog box, one per line.
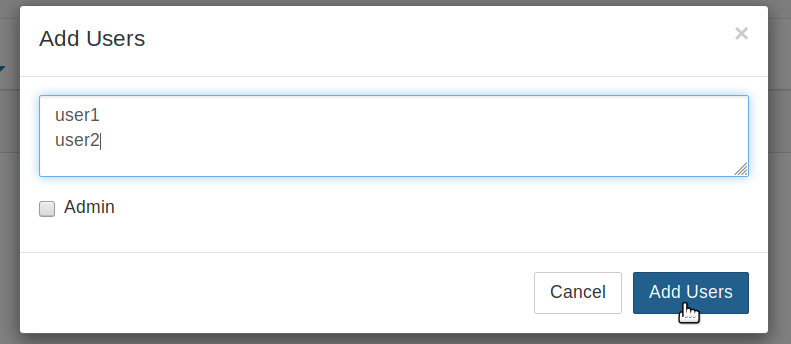
You can tick the Admin checkbox if you want to give admin rights to all these users too.
Click the Add Users button in the dialog box. Your users are now added to the JupyterHub! When they log in for the first time, they can set their password - and use it to log in again in the future.
Congratulations, you now have a multi user JupyterHub that you can add arbitrary users to!
Step 3: Install conda / pip packages for all users#
The User Environment is a conda environment that is shared by all users
in the JupyterHub. Libraries installed in this environment are immediately
available to all users. Admin users can install packages in this environment
with sudo -E.
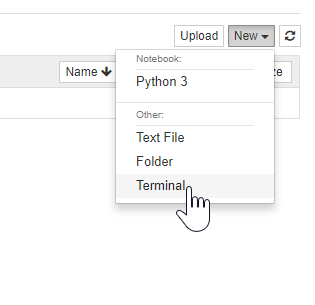
Log in as an admin user and open a Terminal in your Jupyter Notebook.
Install gdal from conda-forge.
sudo -E conda install -c conda-forge gdal
The
sudo -Eis very important!Install there with
pipsudo -E pip install there
The packages gdal and there are now available to all users in JupyterHub.
If a user already had a python notebook running, they have to restart their notebook’s
kernel to make the new libraries available.
See Install conda, pip or apt packages for more information.