Share data with your users#
There are a few options for sharing data with your users, this page covers a few useful patterns.
Option 1: Distributing data with nbgitpuller#
For small datasets, the simplest way to share data with your users is via
nbgitpuller links. In this case, users click on your link and the dataset
contained in the link’s target repository is downloaded to the user’s home
directory. Note that a copy of the dataset will be made for each user.
For information on creating and sharing nbgitpuller links, see
Distributing materials to users with nbgitpuller.
Option 2: Create a read-only shared folder for data#
If your data is large or you don’t want copies of it to exist, you can create a read-only shared folder that users have access to. To do this, follow these steps:
Log in to your JupyterHub as an administrator user.
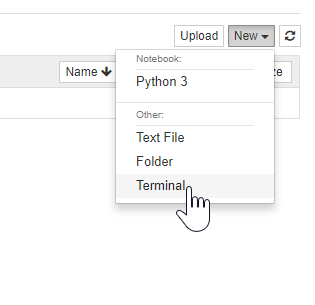
Create a terminal session with your JupyterHub interface.
Create a folder where your data will live. We recommend placing shared data in
/srv. The following command creates two folders (/srv/dataand/srv/data/my_shared_data_folder).sudo mkdir -p /srv/data/my_shared_data_folder
Download the data into this folder. See Adding data to the JupyterHub for details on how to do this.
All users now have read access to the data in this folder.
Option 3: Create a directory for users to share Notebooks and other files#
You may want a place for users to share files with each other rather than
only having administrators share files with users (Option 2). In this
configuration, any user can put files into /srv/scratch that other users
can read. However, only the user that created the file can edit the file.
One way for users to share or “publish” Notebooks in a JupyterHub environment is to create a shared directory. Any user can create files in the directory, but only the creator may edit that file afterwards.
For instance, in a Hub with three users, User A develops a Notebook in their
/home directory. When it is ready to share, User A copies it to the
shared directory. At that time, User B and User C can see User A’s
Notebook and run it themselves (or view it in a Dashboard layout
such as voila or panel if that is running in the Hub), but User B
and User C cannot edit the Notebook. Only User A can make changes.
Log in to your JupyterHub as an administrator user.
Create a terminal session with your JupyterHub interface.
Create a folder where your data will live. We recommend placing shared data in
/srv. The following command creates a directory/srv/scratchsudo mkdir -p /srv/scratch
Change group ownership of the new folder
sudo chown root:jupyterhub-users /srv/scratch
Change default permissions to use group. The default permissions for new sub-directories uses the global umask (
drwxr-sr-x), thechmod g+stells new files to use the default permissions for the groupjupyterhub-users(rw-r--r--)sudo chmod 777 /srv/scratch sudo chmod g+s /srv/scratch
Create a symbolic link to the scratch folder in users home directories
sudo ln -s /srv/scratch /etc/skel/scratch
Note
The TLJH Plugin at kafonek/tljh-shared-directory installs voila and sets up the directories as specified above.
Include --plugin git+https://github.com/kafonek/tljh-shared-directory in your deployment startup script to install it.